A Different Perspective
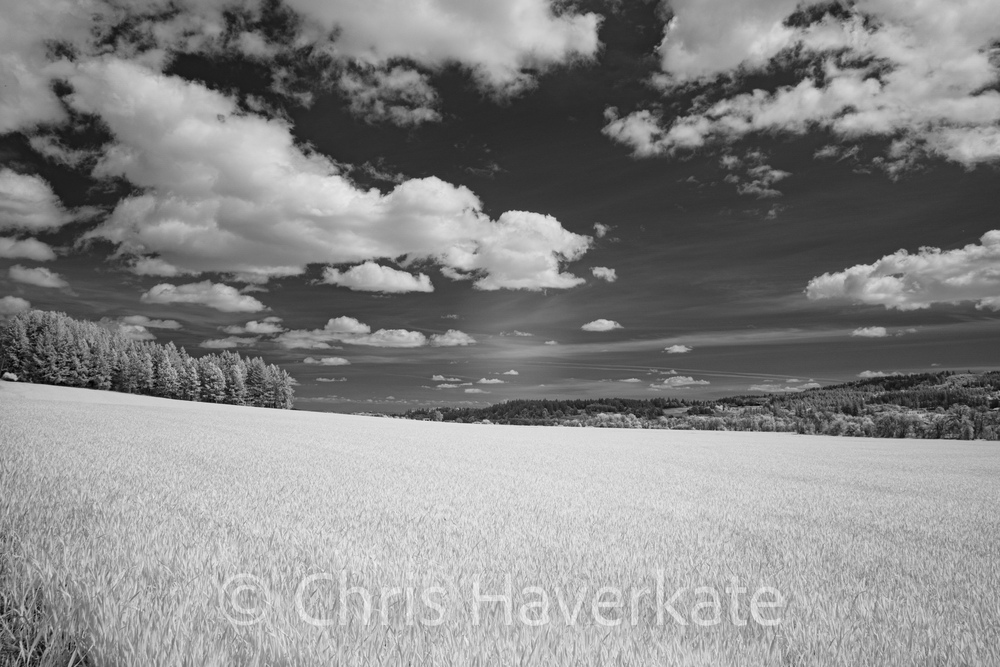
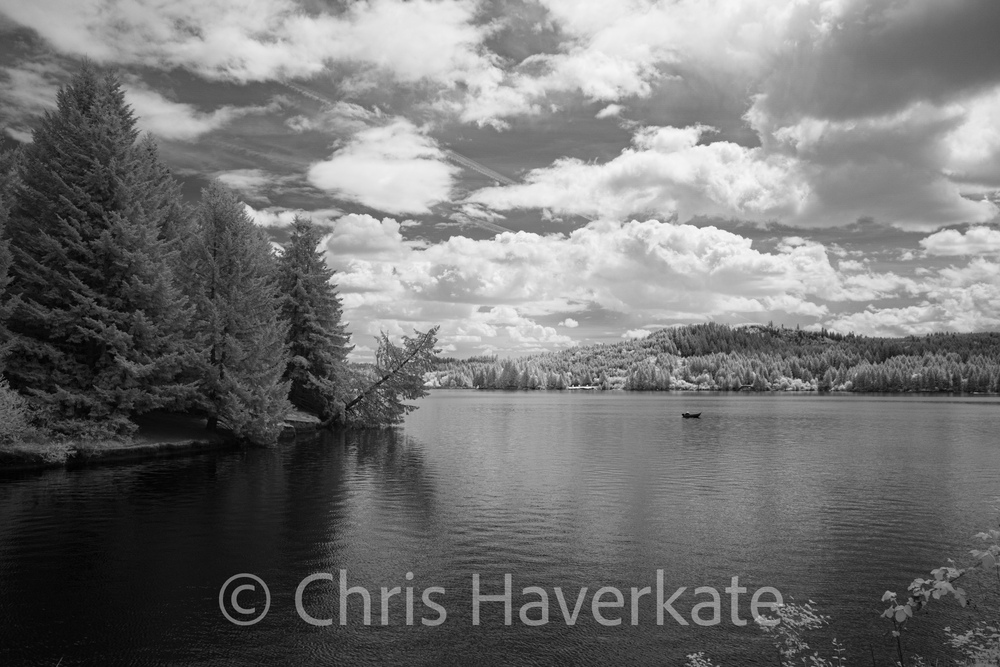
Before anything else, grab the slider and move it left and right. What differences do you notice?
What’s Infrared?
Let’s keep this very high-level for now. If you want to dive deeper, check out these resources on Color Theory and The Electromagnetic Spectrum.
Visible Light
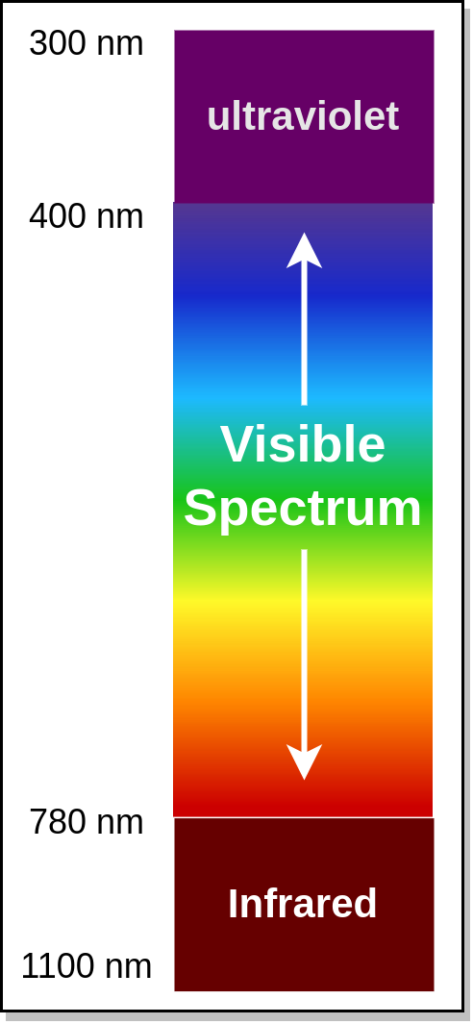
Consumer cameras come with a filter that only allows light in the visible spectrum through to the sensor.
That may seem like a “Well, duh!” statement, but visible light is just a sliver of energy in the electromagnetic spectrum. Sensors in our cameras are sensitive to more of the spectrum than our eyes.
If we did not filter out UV and Infrared light, our pictures would be washed out and not what we want.
Infrared Light
So, how do we “see” a photo in the infrared? The very short answer is we have to convert the light energy to monochromatic representation… We make it black and white, based on the intensity of light.
The Gear
There are two basic steps needed:
- Remove* the filter over the camera’s sensor
- Buy selective filters for the spectrum you want to photograph
*Caution*: This is a very tricky process to do well. I highly recommend a company like Kolari Vision. They provide both a reliable conversion service and high-quality filters.
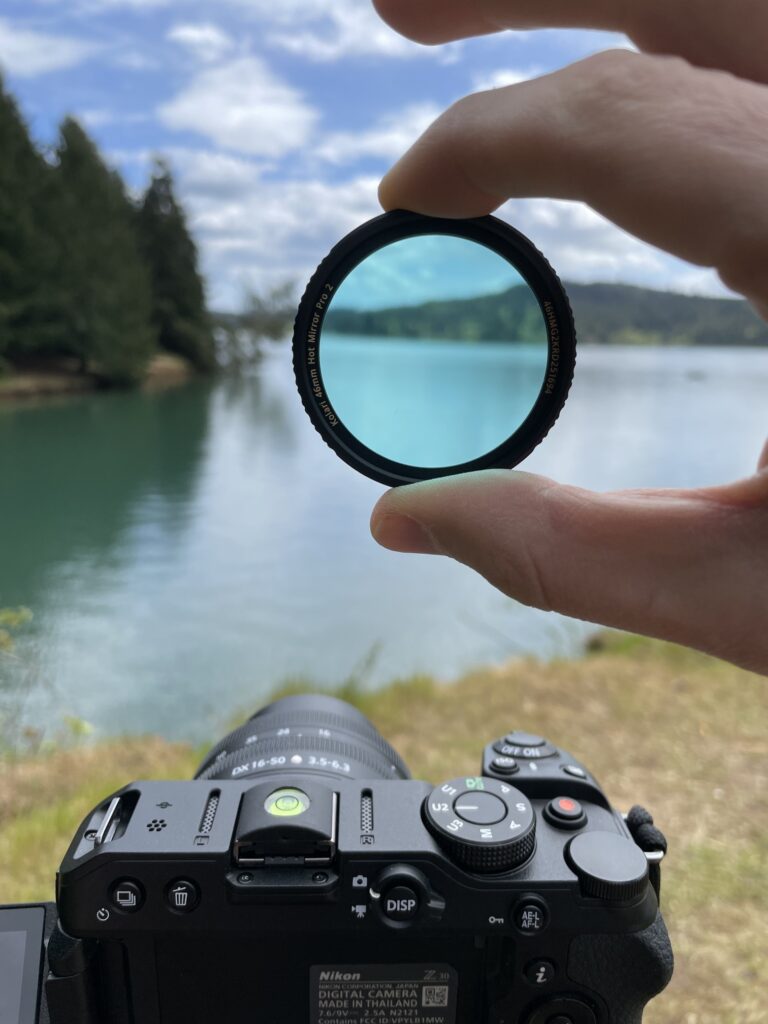
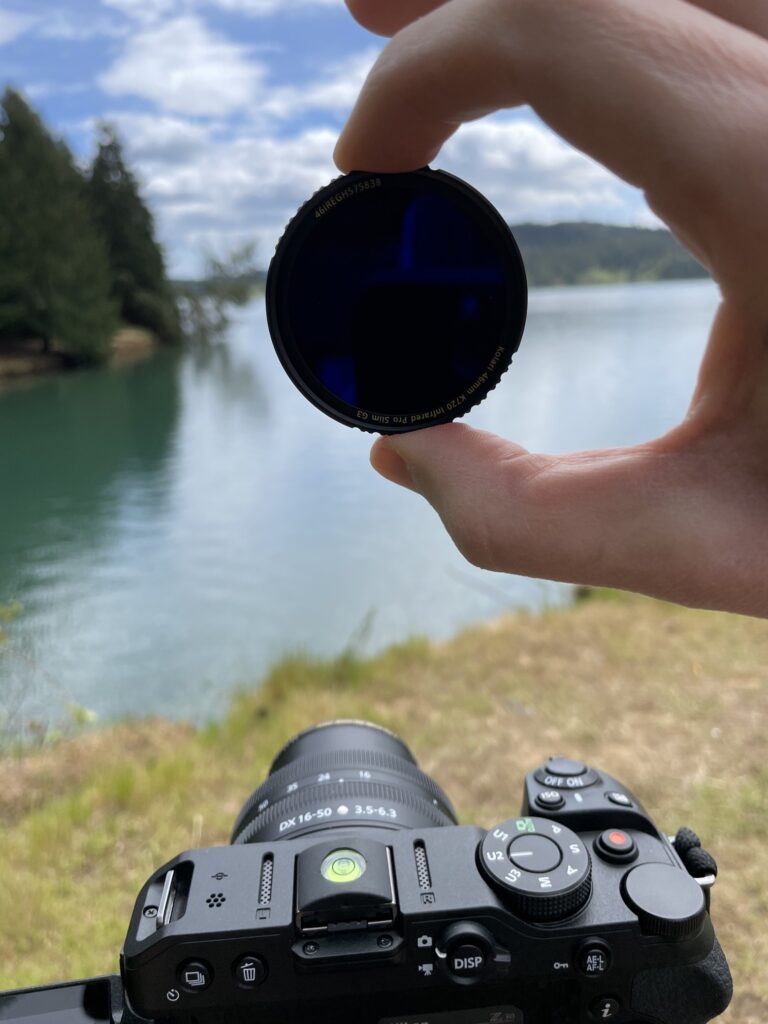
I’m using my Nikon Z30, with the 16mm-50mm lens. The filters I currently have are Kolari’s UV/IR cut (or “Hot Mirror Filter”) and Kolari’s Pro Gen 3 Infrared filter (720nm).
Looking Through Each Filter
something else to say?
Why Not Just Black & White?
Why all the work? Why not just take a picture with visible light and make it black and white?
Well, to answer that, we’ll need to explore further into why we see color! For now, I’ll leave you with this comparison of the same seen: black & white on the left, and infrared on the right.
If you’d like to see more infrared photos, check out my Infrared Photography page.


